**Bubbles, Suds & Science: Your DIY Guide to Surfactants**
(How To Make Surfactant)
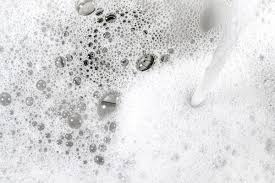
Ever wonder what makes soap foam, cleanser lift grease, or shampoo create that satisfying lather? Meet the surfactant. This magic molecule is the hidden hero in countless products. Making your own surfactant sounds complex. Actually, basic versions are surprisingly achievable at home. Let’s dive into the fascinating world of DIY surfactants.
**1. What Exactly is a Surfactant?**
Think of the word “surfactant.” It comes from “surface active agent.” That name tells you exactly what it does. A surfactant changes how liquids behave at surfaces. Specifically, it messes with surface tension.
Water molecules stick tightly together. This creates surface tension, a kind of skin on the water’s surface. This tension makes water bead up. It also stops water from mixing easily with oils or dirt. Surfactants break this tension.
A surfactant molecule has two distinct parts. One end loves water. We call this the hydrophilic head. The other end hates water but loves oil and grease. This is the hydrophobic tail.
When you add surfactant to water, these molecules position themselves at the water’s surface. The water-loving heads stay in the water. The oil-loving tails stick out into the air. This breaks the surface tension. The water spreads out more easily.
In cleaning, surfactants work like tiny mediators. The hydrophobic tails grab onto grease and oil. The hydrophilic heads remain anchored in the water. When you rinse, the whole package washes away. This simple action powers cleaning, foaming, and emulsifying.
**2. Why Make Your Own Surfactant?**
Buying commercial surfactants is easy. So why bother making them yourself? Several good reasons exist.
First, control. You know exactly what goes into your mixture. No hidden chemicals or questionable additives. This is great for sensitive skin or specific projects needing pure ingredients.
Second, customization. Need a super gentle surfactant for face soap? Or a powerful degreaser for the garage? Making it yourself lets you tweak the formula. You adjust strength, pH, and properties to fit your exact need.
Third, it’s a fantastic learning experience. Understanding surfactants deepens your appreciation for everyday chemistry. You see science in action. It demystifies how common products work.
Fourth, cost. Basic homemade surfactants often use inexpensive, readily available ingredients. For large batches or niche applications, DIY can be cheaper than specialized commercial products.
Fifth, sustainability. You choose eco-friendlier starting materials. You control packaging, reducing plastic waste. You avoid complex industrial processes sometimes linked to pollution.
Finally, satisfaction. There’s real pride in crafting a functional ingredient yourself. It connects you to the process behind the products you use daily.
**3. How to Make a Simple Surfactant at Home**
Ready to try? We’ll make Sodium Lauryl Sulfate (SLS), a common surfactant, using a safe, accessible method. Important: Work in a well-ventilated area. Wear gloves and eye protection. Handle chemicals carefully.
**You Need:**
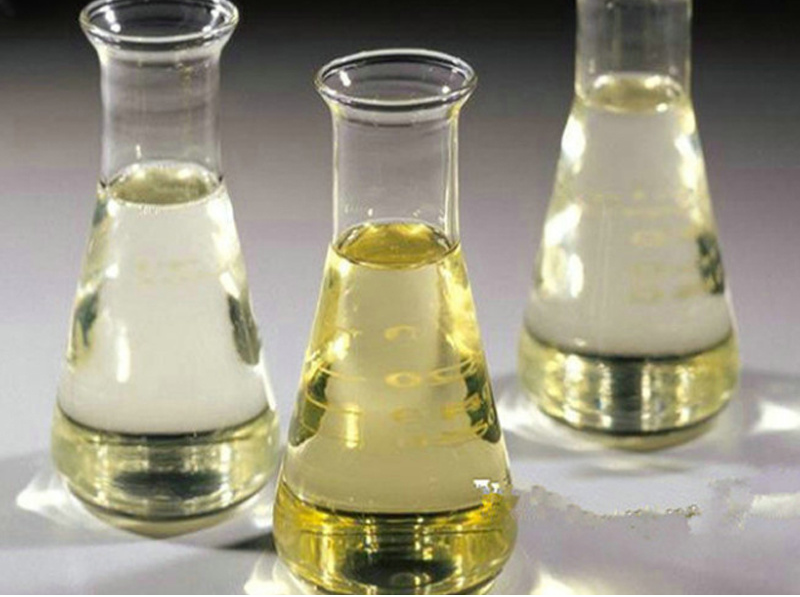
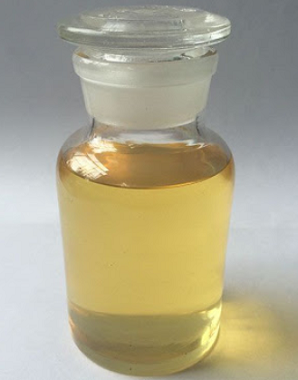
* 30g Lauryl Alcohol (often from coconut oil)
* 45g Sulfamic Acid (safer than chlorosulfonic acid)
* 50g Water
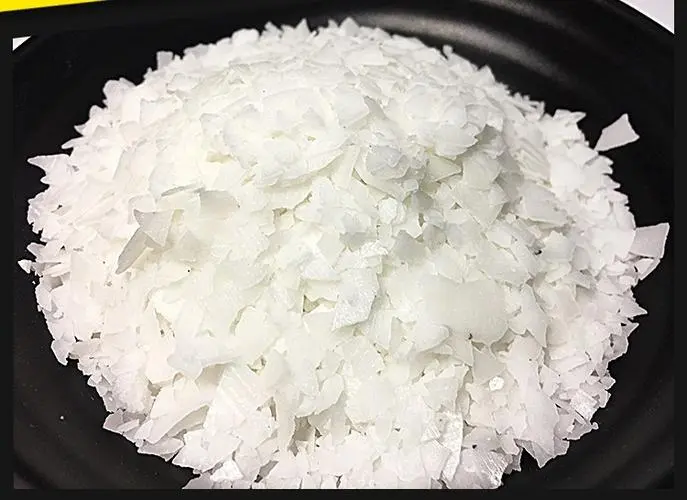
* 25g Sodium Hydroxide (Lye – handle with extreme care!)
* Heat-resistant glass container (like Pyrex)
* Thermometer
* Stirring rod
* pH strips
* Safety gear (gloves, goggles)
**Steps:**
1. **Prepare the Alcohol:** Place the lauryl alcohol in your glass container. Heat it gently until it melts. Aim for around 50-60°C (122-140°F). Keep it liquid.
2. **Add Sulfamic Acid:** Slowly add the sulfamic acid to the melted alcohol. Stir continuously. This mixture will get thick and pasty. Keep stirring well.
3. **Heat and React:** Carefully heat this paste. Maintain the temperature around 105-110°C (221-230°F). Stir constantly for about 2 hours. The paste will gradually thin out. This is the sulfation reaction happening.
4. **Neutralize:** After 2 hours, remove the mixture from heat. Let it cool slightly. Slowly add the water. Stir thoroughly. The mixture will become a thick liquid.
5. **Prepare Lye Solution:** In a separate container, carefully dissolve the sodium hydroxide in a small amount of water. This creates a strong base. It gets very hot. Add the lye to water, never water to lye. Let it cool.
6. **Combine and Neutralize:** Slowly add the cooled lye solution to your sulfated mixture. Stir constantly. Use pH strips to check. The goal is a neutral pH of 7. You might need a little more lye solution or water. Keep testing until neutral.
7. **Final Touches:** Once neutralized, you have your basic SLS paste. You can dilute it with more water for a liquid surfactant. Store it in a sealed container.
Remember: This is a simplified process. Results vary based on ingredient purity and technique. Start small. Always prioritize safety.
**4. Applications: Where Your Homemade Surfactant Shines**
So you made surfactant. What now? Your DIY creation has many practical uses.
* **Cleaning Powerhouse:** This is the most obvious use. Add your surfactant to homemade all-purpose cleaners. It cuts grease on countertops, stovetops, and appliances. Dilute it in water for a great floor cleaner. Use it in DIY bathroom scrubs to tackle soap scum and grime. Its ability to lift oil makes it excellent for pre-treating laundry stains.
* **Personal Care:** Gentle, well-made surfactants form the base of many personal products. Create your own liquid hand soap or body wash. Formulate a simple shampoo. Make a gentle facial cleanser. You control the ingredients, avoiding harsh additives found in some store brands. Ensure your final product pH is skin-friendly (around 5.5).
* **Gardening Aid:** Surfactants help water spread evenly and penetrate soil. Add a tiny amount to your watering can. This helps water reach plant roots more effectively. It’s especially useful for hydrophobic soils that repel water. Use very dilute solutions to avoid harming plants.
* **Bubble Fun:** Want giant, long-lasting bubbles? Homemade surfactant is key! Mix it with water and glycerin. Experiment with ratios. You’ll create fantastic bubble solutions far better than most store-bought versions.
* **Emulsifying Agent:** Surfactants help blend oil and water. Use your DIY surfactant in homemade lotions or creams. It stabilizes the mixture, preventing separation. This creates smooth, consistent textures.
* **Craft Projects:** Certain crafts benefit from surfactants. Use them in paper marbling. They help paints float and spread on water. Add a drop to watercolors for different effects on paper.
Start with small batches for testing. Adjust concentration based on the application. Cleaning needs stronger solutions than personal care.
**5. Surfactant FAQs: Your Questions Answered**
Let’s tackle common questions about making and using surfactants.
* **Is making surfactant dangerous?** It involves chemicals. Sulfamic acid and sodium hydroxide require careful handling. Wear gloves and goggles. Work in ventilation. Follow the steps precisely. Respect the chemicals. Done carefully, it’s manageable.
* **Can I use different fatty alcohols?** Yes. Lauryl alcohol (C12) is common. You can try myristyl (C14) or cetyl alcohol (C16). Chain length affects properties. Shorter chains (like C12) are better for foaming. Longer chains (like C16) are milder, better for lotions. Experimentation is key.
* **Why is my surfactant not foaming well?** Several reasons exist. Impure starting materials. Incorrect reaction time or temperature. Poor neutralization (wrong pH). Try adjusting your process. Ensure complete reaction and neutralization. Test different concentrations.
* **Is homemade surfactant as good as store-bought?** For basic applications, yes. Commercial surfactants offer extreme purity and consistency. They also come in specialized types. Your DIY version works well for many household and personal uses. It might not match industrial-grade performance in every niche.
* **How long does homemade surfactant last?** Properly stored in a sealed container, it lasts several months. Keep it cool and dark. Watch for changes in smell, color, or texture. Discard if it looks or smells off.
* **Can I make it without sulfamic acid?** Sulfamic acid is a safer alternative. Historically, chlorosulfonic acid was used. It’s highly corrosive and dangerous. Sulfamic acid is preferred for home use. Other methods exist but are often more complex.
(How To Make Surfactant)
* **Is DIY surfactant eco-friendly?** It depends on your ingredients. Choosing sustainably sourced lauryl alcohol helps. You avoid industrial manufacturing impacts. You also control packaging waste. However, sodium hydroxide production has an environmental footprint. Overall, it can be a greener choice than some mass-produced options.
Inquiry us
if you want to want to know more, please feel free to contact us.